Build a Handler
A handler is a Powershell script or an executable that receives two parameters.
The first parameter is a file name that points to the data sent to the handler from Business Central.
The second parameter is a file name that returns data to Business Central.
./handler.ps1 input.bin output.bin
or
./handler.exe input.bin output.bin
Both input and output files are handled as binary files. The content is up to you. Some examples are JSON, XML, CSV, PDF, or images. JSON is handy because the AL language in Business Central has objects to produce and parse JSON files.
Example - Uppercase
Let's build a simple handler to illustrate the process. The handler in this example will return the uppercase value of a text string. We will name the handler UppercaseHandler.
This handler uses two-way communication. It receives a package with instructions from Business Central and returns an answer.
It is designed to run under the direct print service.
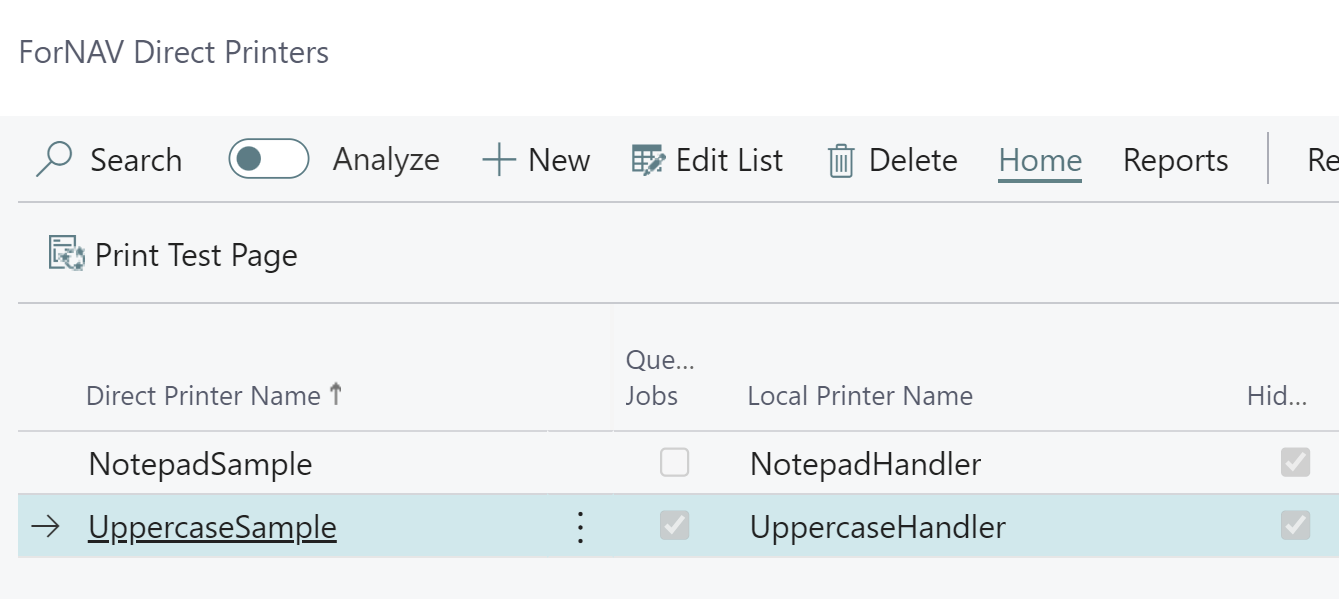
Direct printer for handler
Before creating a job on the queue for the handler, we need to define a direct printer. This is not an actual printer, but it will be used to control which service should handle the job and which handler script should be used to process the package.

This printer should place the jobs in the queue so that the service picks them up instead of downloading and processing them on the client computers.
Handler folder
First, we must create a folder for our handler. For security reasons, the handlers are stored in a subfolder of the product's program folder. The subfolder is called handlers. This is the location in a default installation:
C:\Program Files\Reports ForNAV\Handlers
In this folder, we create a folder for our new handler. The folder's name is our handler's name.
C:\Program Files\Reports ForNAV\Handlers\UppercaseHandler
Handler script file
The script is a file in the new folder called handler.ps1.
The handler script reads the input and output file names from the command line arguments.
$inputfile = $args[0]
$outputfile = $args[1]
Then, it reads the package in the input file. We assume the input file is a simple JSON document with a string value called inputtext.
$package = Get-Content -Raw $inputfile | ConvertFrom-Json
The output is also created as a JSON document with the outputtext set to the uppercase value of the inputtext.
$result = @{}
$result["outputtext"] = $package.inputtext.ToUpper()
$result | ConvertTo-Json | Out-File $outputfile
You can see the full script here:
#
# Sample handler that will convert a string to uppercase
#

# Get the input and output file names from the command line
$inputfile = $args[0]
$outputfile = $args[1]

# Read the input file as a JSON document
$package = Get-Content -Raw $inputfile | ConvertFrom-Json

# Create the result and save it to the output file
$result = @{}
$result["outputtext"] = $package.inputtext.ToUpper()
$result | ConvertTo-Json | Out-File $outputfile
Input file:
{
    "inputtext": "This is my sample text"
}
Output file:
{
    "outputtext":  "THIS IS MY SAMPLE TEXT"
}
Calling the handler from Business Central
Now that the printer is defined and the handler PowerShell script is in place, it is time to call the script from Business Central.
The code below shows how a JSON document is created as the package to the handler.
We can create the package using the CreatePackage call on the print queue. The first parameter is the document name, shown in the queue. The second parameter is the name of the direct printer we created for this handler. After creating the package, a commit is needed to update the queue with the new job. Otherwise, the service that listens to the queue cannot see it.
After the commit, we can wait for the result and process it.
trigger OnAction()
var
    DirPrtQueue: Record "ForNAV DirPrt Queue";
    packageJO: JsonObject;
    resultJO: JsonObject;
    resultToken: JsonToken;
begin
    // Create the package for the local handler
    packageJO.Add('inputtext', 'This is my sample text');

    // Create a job on the queue
    DirPrtQueue.CreatePackage('Uppercase sample', 'UppercaseSample', packageJO);
    Commit(); // Commit so that the API can read the package from another session
    if DirPrtQueue.WaitForResponse(10000, resultJO) then begin
        // Read outputtext from result
        if resultJO.Get('outputtext', resultToken) then
            Message(resultToken.AsValue().AsText())
        else
            Error('The output was not found in the result.');
    end else
        Error('Request timed out');
end;